Details matter and details help. When implemented, these subtle pieces reflect immediately in the big picture, refining it. Adjusting details in Ulysses according to your likes and preferences allows you to create a writing environment fit for your creativity.
Below, you’ll find a 6-step-guide to customize your text editor on iPad or iPhone. If you want to know how to do this on Mac, visit this post on our knowledge base. Know that if you prefer leave Ulysses as it is, ? — it has been carefully designed for a clean and focused experience.
Before we start, open Ulysses on your iPad or iPhone, switch to the editor view, and access the settings menu by tapping the AA icon. Spotted? Good. This is where the magic happens!


Step 1: Find Your Preferred Mode
What do you prefer for writing, light or dark? It depends, right? Activate or deactivate the “Dark Mode” option to select between a light background with dark fonts and a dark background with bright fonts. You can switch between them whenever you want — for example, use the dark mode if your eyes are tired at night.


Step 2: Select a Font
Your default writing font is the iOS system font, San Francisco. It is certainly a great choice, but you can always browse among the other available fonts and choose your favorite. You’ll find them in the “Editor” section, under “Font”.
You can also upload and use your own, here’s how to do it:
- Transfer a font file (.ttf or .oft) to your iOS device, e.g. by saving it to your iCloud Drive, sending yourself a message, or downloading it from the web.
- Tap it and select “Import with Ulysses”.
- Voilá! You will be redirected to Ulysses, where your new font is now installed.


Step 3: Adapt Editor Settings
Text Zoom, Line Height, Paragraph Spacing, First Line Indent… adjust them in “Layout”, under “Editor”.
Let’s assume you need less space between lines, or you think they are too far apart. Try changing the Line Height. Or do you feel your paragraphs are too close together? Then alter the Paragraph Spacing. When you wish to distinctly signal the start of a new paragraph, customize the First Line Indent. And last but not least, increase or decrease the text size in Text Zoom. Try it out and find your preferred look!


Step 4: Use Typewriter Mode
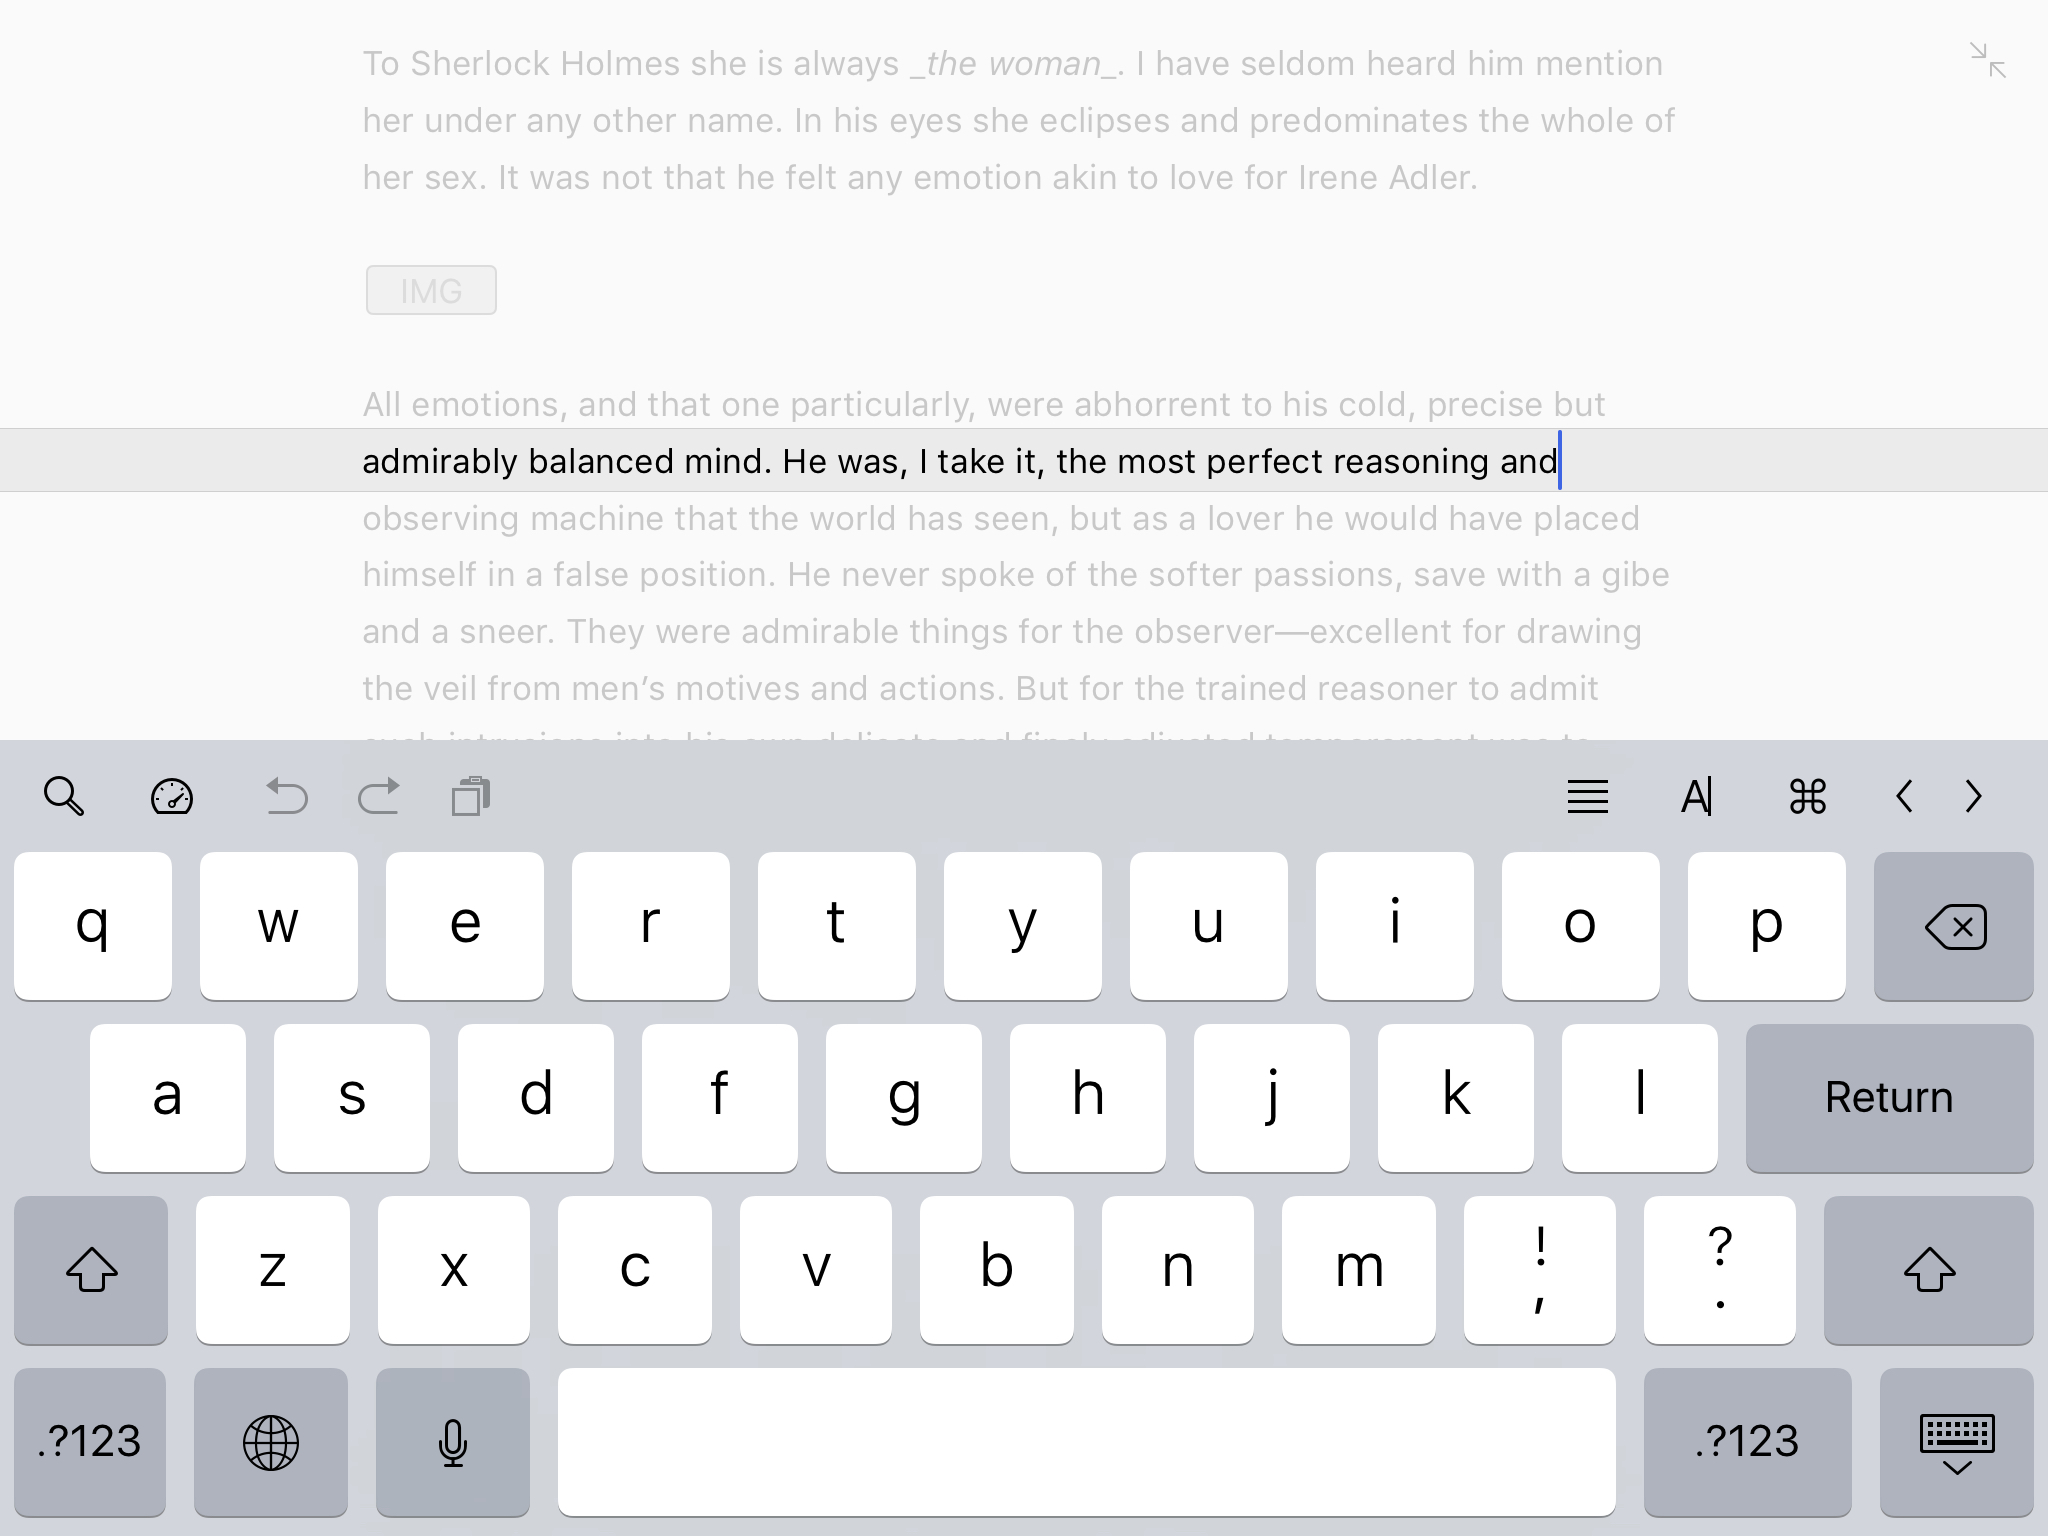
Need a bit more focus? Turn on Typewriter Mode and adjust its features. This will emphasize the particular line or paragraph you are tweaking.
“Highlight” can be set to your current line, sentence or paragraph. When enabled, your selection will be accentuated, while the rest of your text will fade into the background, still readable. “Mark Current Line” puts a light grey tint under the line you’re currently writing. And “Fixed Scrolling” holds your current line on one spot while you’re typing, allowing you to focus directly on it.

Step 5: Change Theme
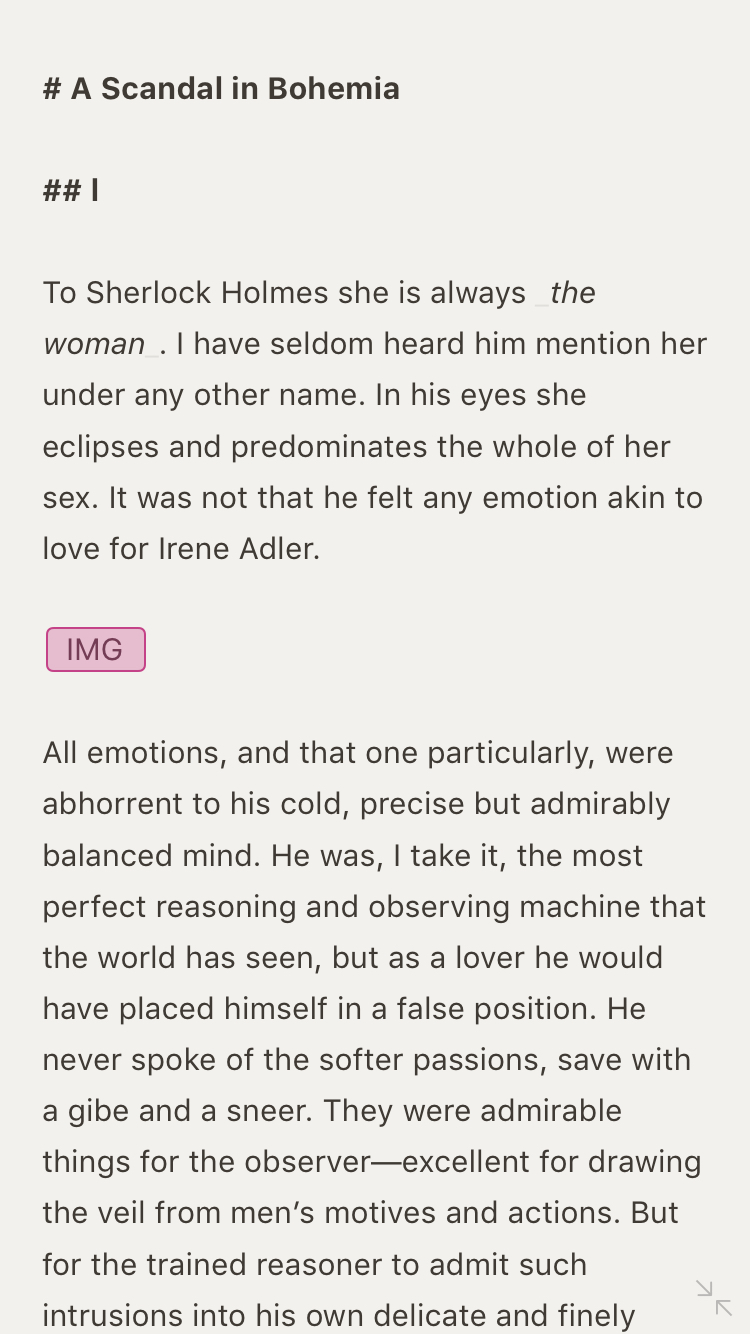
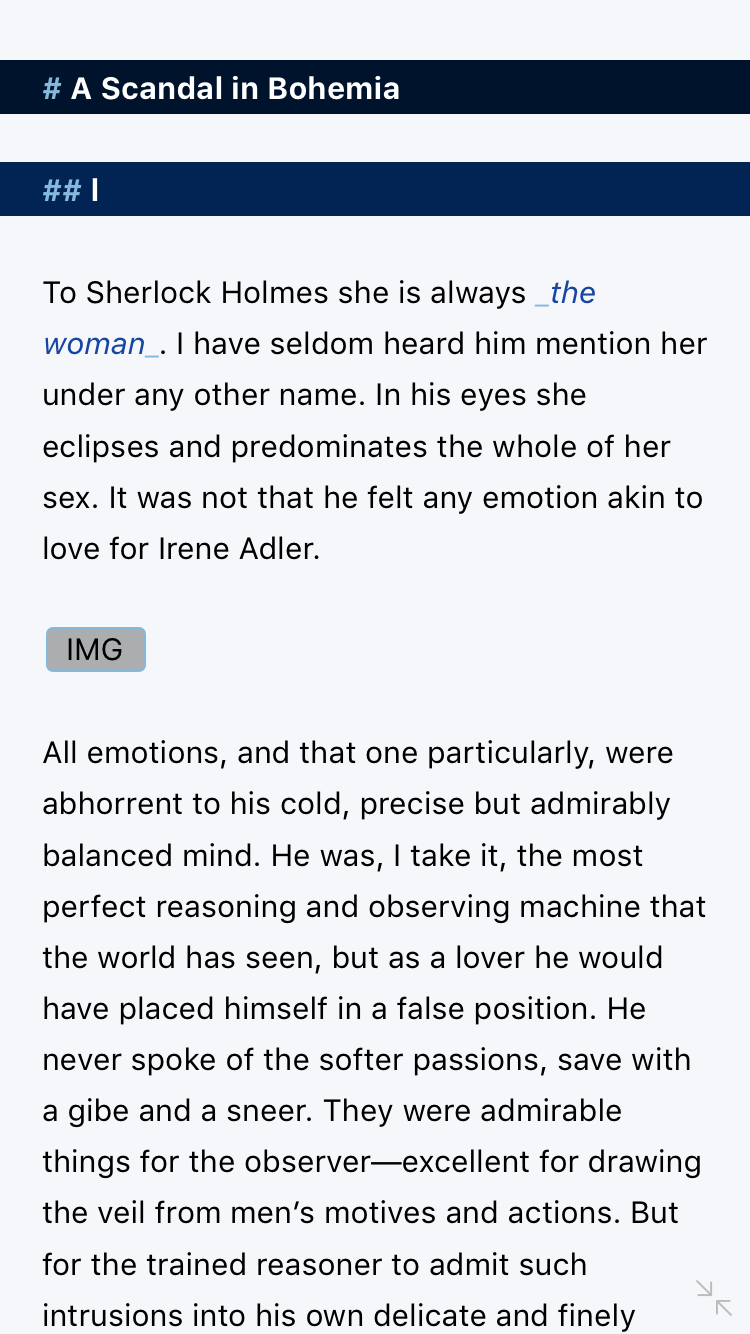
Themes define the colors of your background, font and markup. Think of them as virtual wallpapers for your virtual writing studio. You can select between a number of pre-installed – carefully designed – themes, each with a light and a dark version.


If these are not yet what you are looking for, you can go to the Ulysses Style Exchange and select between a great number of themes created by fellow users. Here’s how:
- In the Setting menu, tap “Theme”.
- Scroll down and tap “Visit the Ulysses Style Exchange…”. You will be redirected to your web browser.
- Choose your favorite theme and download it.
- Tap “Open in ‘Ulysses’”’ and… Ta da, theme installed!
If you also own Ulysses for Mac, you can even build your own theme. Check out this knowledge base article to find out how.
Step 6: Consider an External Keyboard
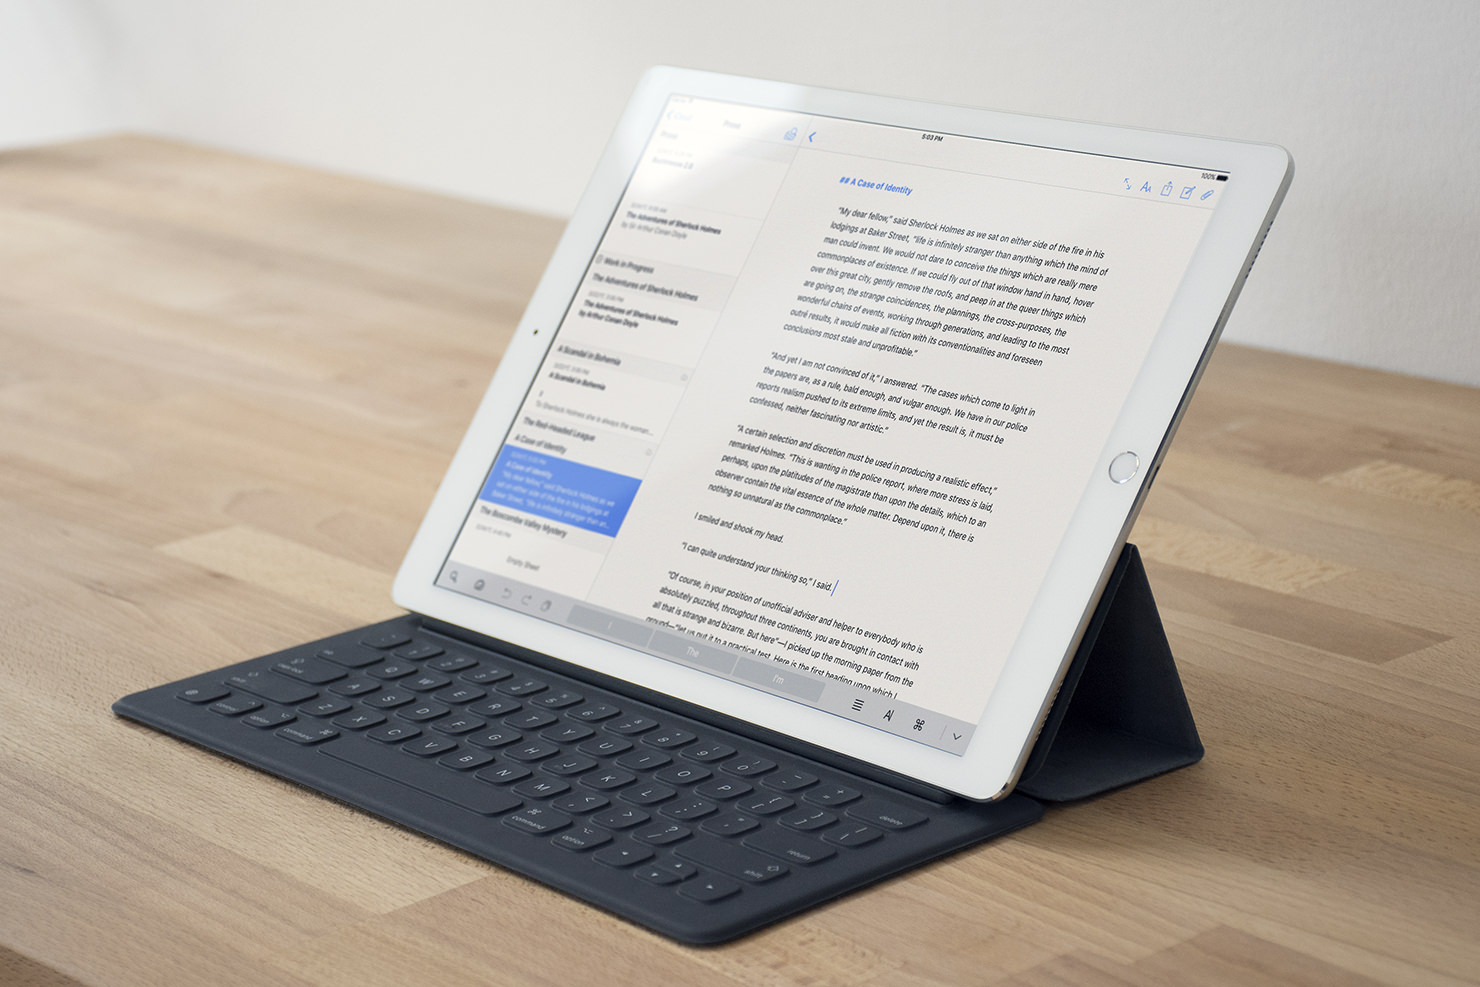
External keyboards are great for many reasons. They effectively leave more space for your writing on the display, and some find it more practical, especially when writing longer texts. Ulysses supports typing on an external keyboard and allows to speed up your writing with a number of keyboard shortcuts.
And just like that — drum roll please ? — your very own personalized virtual writing room! Enjoy.


